How to host your Discord bot on a VPS
May 2nd, 2018 · 4 minute read
Note: I wrote this guide a while ago so some parts of it might be outdated.
A guide on how to host your discord bot on ubuntu. Made for people like me, who cannot figure how to do this, and people who have never done anything on Ubuntu, or touched Ubuntu before.
Getting Started
Requirements
- FileZilla Client - https://filezilla-project.org/
- PuTTY - https://putty.org/
Choosing Cloud Service (Paid)
There are many good cloud services to choose from to host your discord bot with
- Vultr - https://www.vultr.com/
- Digital Ocean - https://m.do.co/
- OVH - https://www.ovh.com/us/vps/
Of course there are more, so feel free to use them! If you want to add more to the list, thats completely fine!
Choosing Plan
Generally 1GB RAM and 25GB storage is a good plan for a bot thats on more than 200 servers, if your looking to host a private bot you might go for 512MB RAM and 20GB storage. If your hosting a music bot you might want to go further than that.
Deploying Server
After you've chosen your plan, set your OS as Ubuntu v16.04, and choose a location, then deploy your server.
Setting Up Server
Connecting to Server Using PuTTY
Open PuTTY (if you don't have this installed, download link above.) After you have opened putty paste the IP Adress of the server which can be easily found on your online server panel. Once you've copied the IP Adress, paste it in PuTTY

After you have donen that a warning might appear, just click yes. Once thats done, a black screen should pop up.
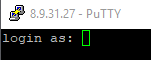
Here, type your username (it is probably: root), then type your password which can be found
in the online server panel of your cloud service's website. While typing your password no text will
appear, which is what is supposed to happen. You can also paste your password in PuTTY by doing
shift insert. You can change the password later by typing passwd. Now we are
connected to the server!
Installing node.js and npm packages.
Once you are logged in to your server, you can now install things you need.
Install node.js and npm... (shift insert to paste in PuTTY)
wget -qO- https://deb.nodesource.com/setup_8.x |
sudo bash -
sudo apt-get install -y nodejs
sudo apt-get install build-essential
Verifying Versions
node -v
npm -v
If your bot uses ffmpeg... (not needed for most people)
add-apt-repository ppa:djcj/hybrid
apt-get update
apt-get install ffmpeg -y
After that you will have everything installed (keep PuTTY open)!
Uploading Bot Files with Filezilla
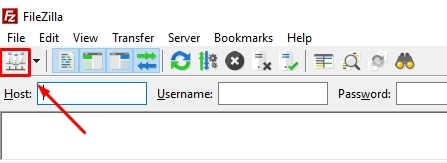
Now you need to upload your bot files to your server. To do that you will need to install FileZilla (installation can be found above.) Once you have done that, open FileZilla, and press SiteManager.
After that, a new panel should pop up, and there should be a button that says New Site... Press That!
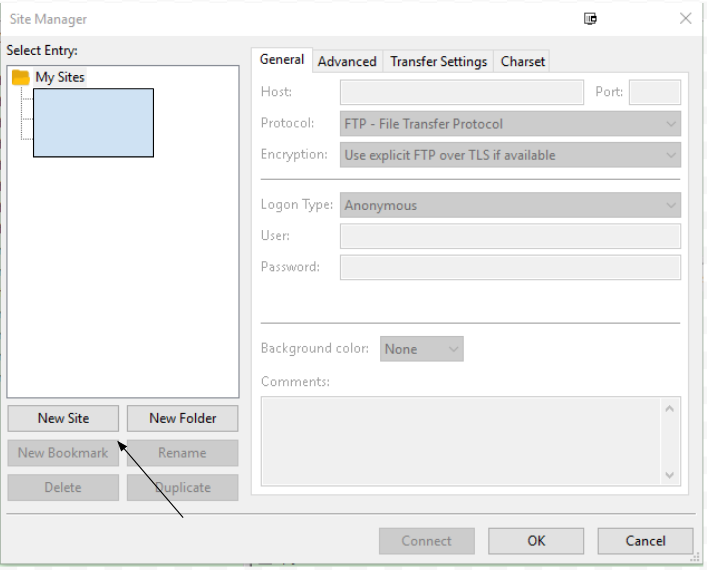
Now you can name the site anything you want. After you have done that, you need to set some configurations.
Host: IP ADRESS OF SERVER
Protocol: SFTP - SSH File Transfer Protocol
Logon Type: Normal
User: Your Server Username (most likely root)
Password: Your Server PasswordRunning Bot
Once all your files have finished uploading, go back to PuTTY. Now to make your bot online 24/7 type the
word screen in PuTTY and press enter. Lots of text should appear after that, just press
enter once again.
Now all you need to do is type: cd <NAME OF THE FOLDER OF THE BOT> then type:
node index.js or whatever your main file is called. Your bot will be online 24/7 now!
Horray!
Reconnecting
If you have closed PuTTY and want to reconnect, DO NOT start a new screen, all you have
to do to reconnect is to type screen -r. If you start another screen while there is already
a screen, your bot will respond to a command twice. If this ever happens to you just restart the server.